
How to build a blog website fast with Laravel 8 + Strapi?
How to build a blog website fast with Laravel 8 + Strapi?

Laravel is a famous web framework that allows you to build safe and scalable websites. Laravel allows you to build nearly any type of website, from basic portfolio sites to full-fledged e-commerce systems.
Strapi is a headless CMS framework that has received a lot of attention recently. Strapi allows you to simply add CMS functionality to your website, independent of the technology used. Strapi also eliminates the headaches of developing a database and models specific to your CMS needs because it is highly flexible, allowing you to design your own models and entities, often known as content kinds.
In this article, you’ll learn how to use Strapi to construct a blog in Laravel. The blog will have entries, tags, and the ability for users to leave comments.
Prerequisites
Before you begin, you must have the following tools on your machine:
STEP 1: Setup Strapi First
the first step installs Strapi in your local machine, run the following command :
npx create-strapi-app@latest strapi --quickstartAfter that, the server will start at localhost:1337, and a new browser window will open. It will be a registration form in which you must establish an administrator account on Strapi.
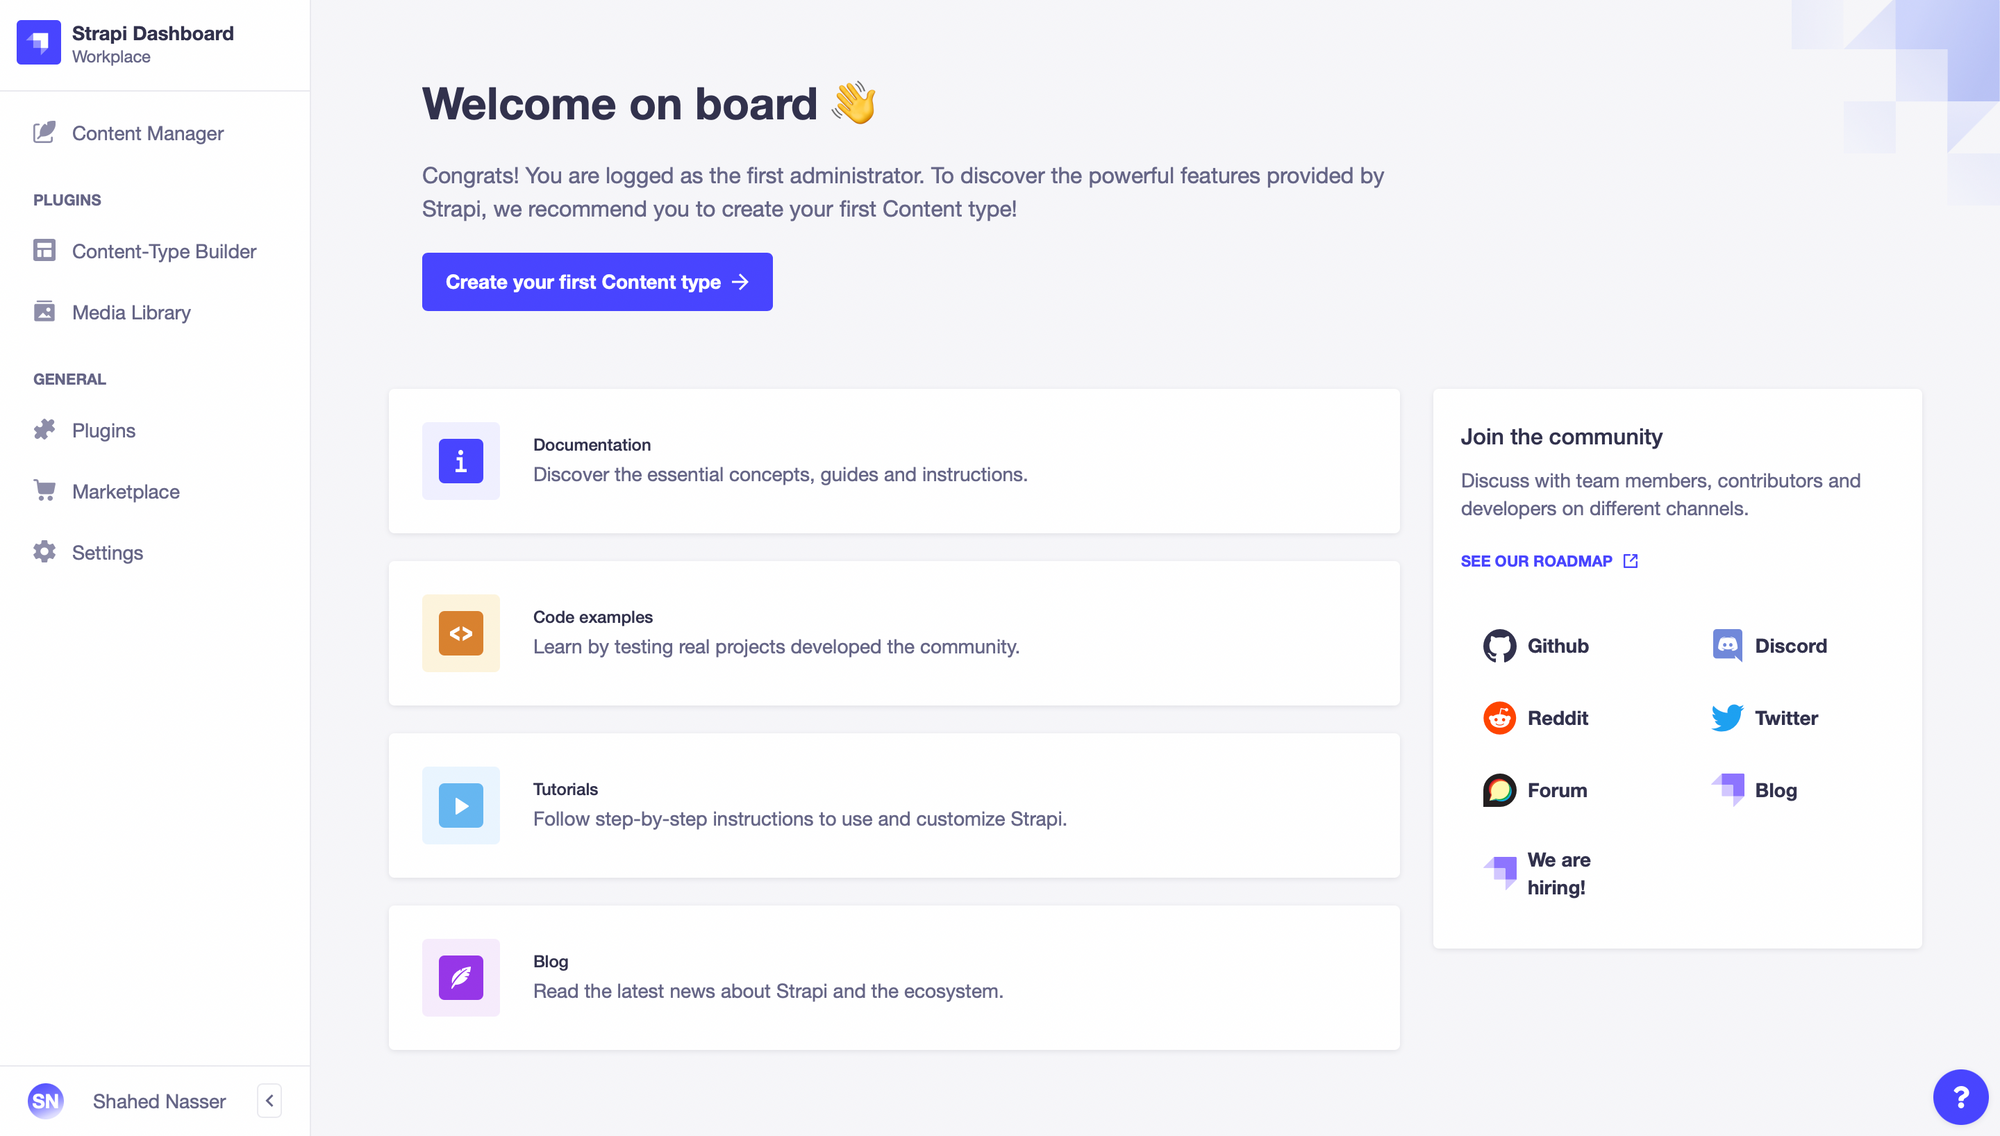
When you’re finished, you’ll be sent back to the main dashboard.
STEP 2: Create Content-Type
Following that, you’ll build the blog’s content kinds. You will define content kinds for the posts as well as tags for the posts to utilize. You will also develop a comment content type that will be filled from our Laravel blog.
Begin by selecting **Create your first Content type **from the dashboard. This will take you to a new page where you may create content kinds. Click on **Create new collection type **under Collection type in the Content Types Builder sidebar. This will launch a pop-up window where you may configure the basic and advanced options.
You’ll start by creating the tag’s content type. In the popup Tag, fill in the Display Name area. This will produce the single and plural forms of the content type automatically.
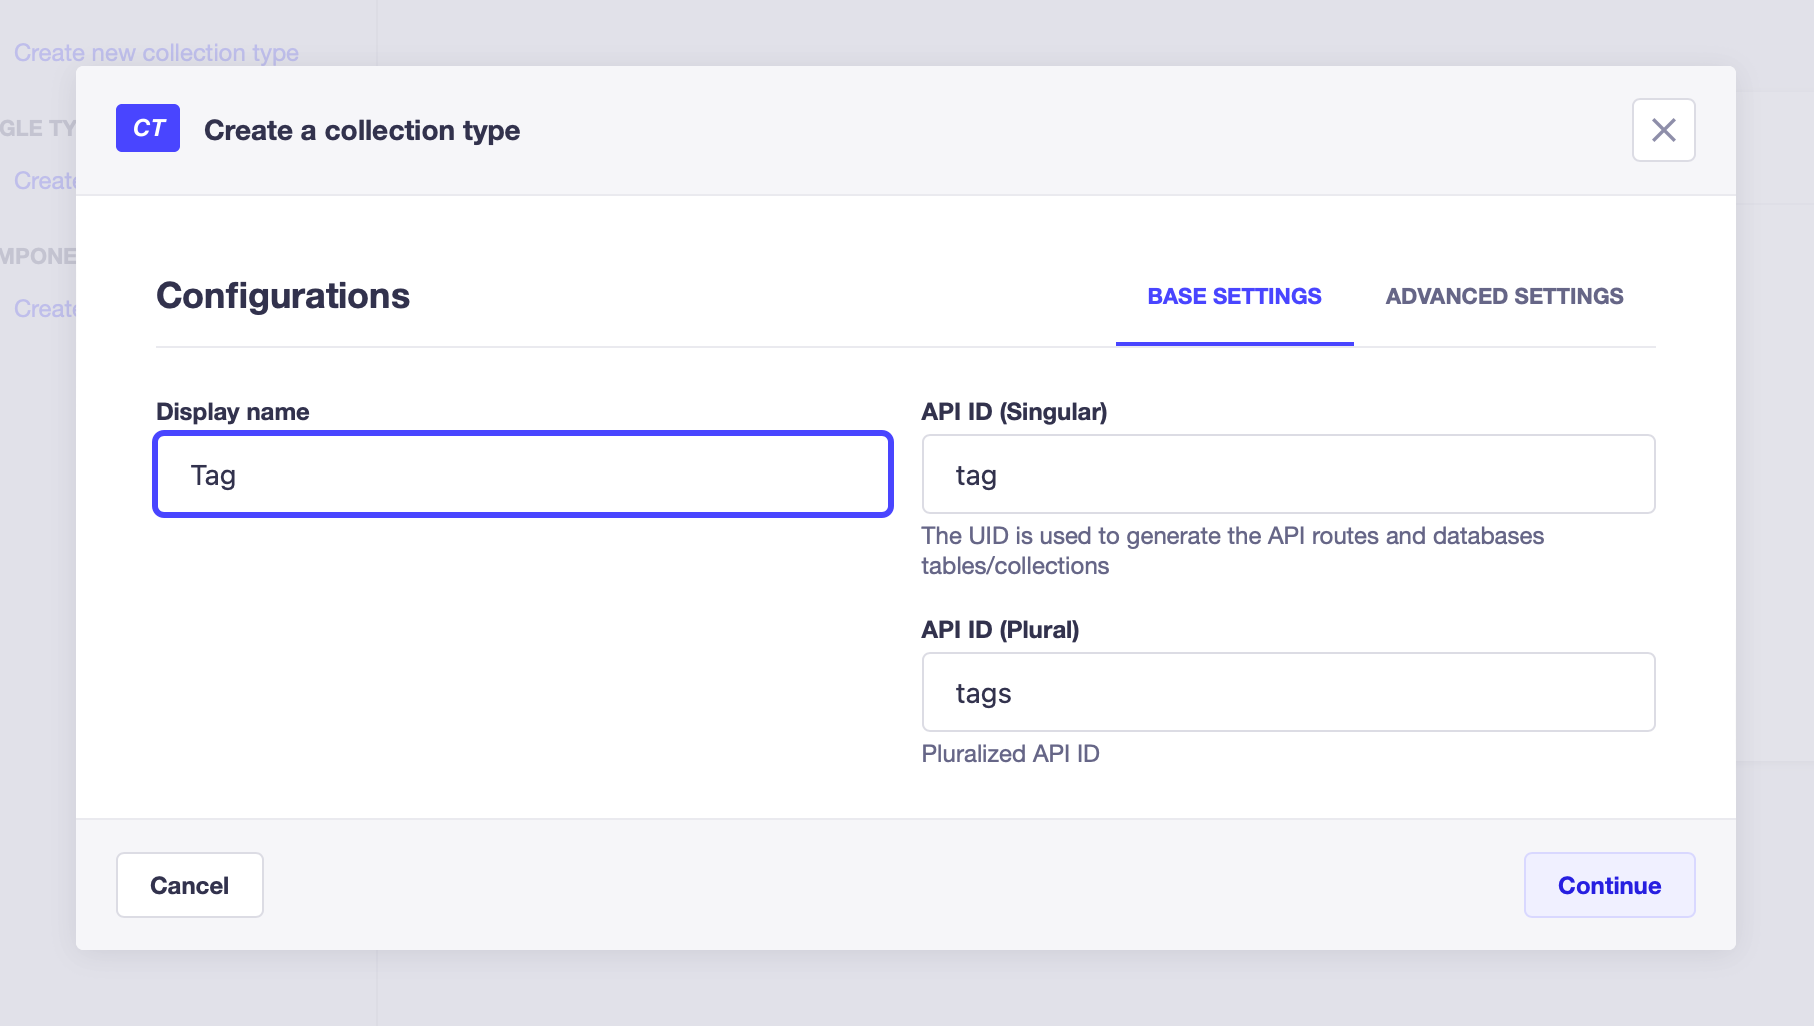
When you’re finished, click Continue. You may now select which fields to include in this content type. Tags will only have a name field in addition to their id. So, select the Text field type. Then, in the Name area, type your name.
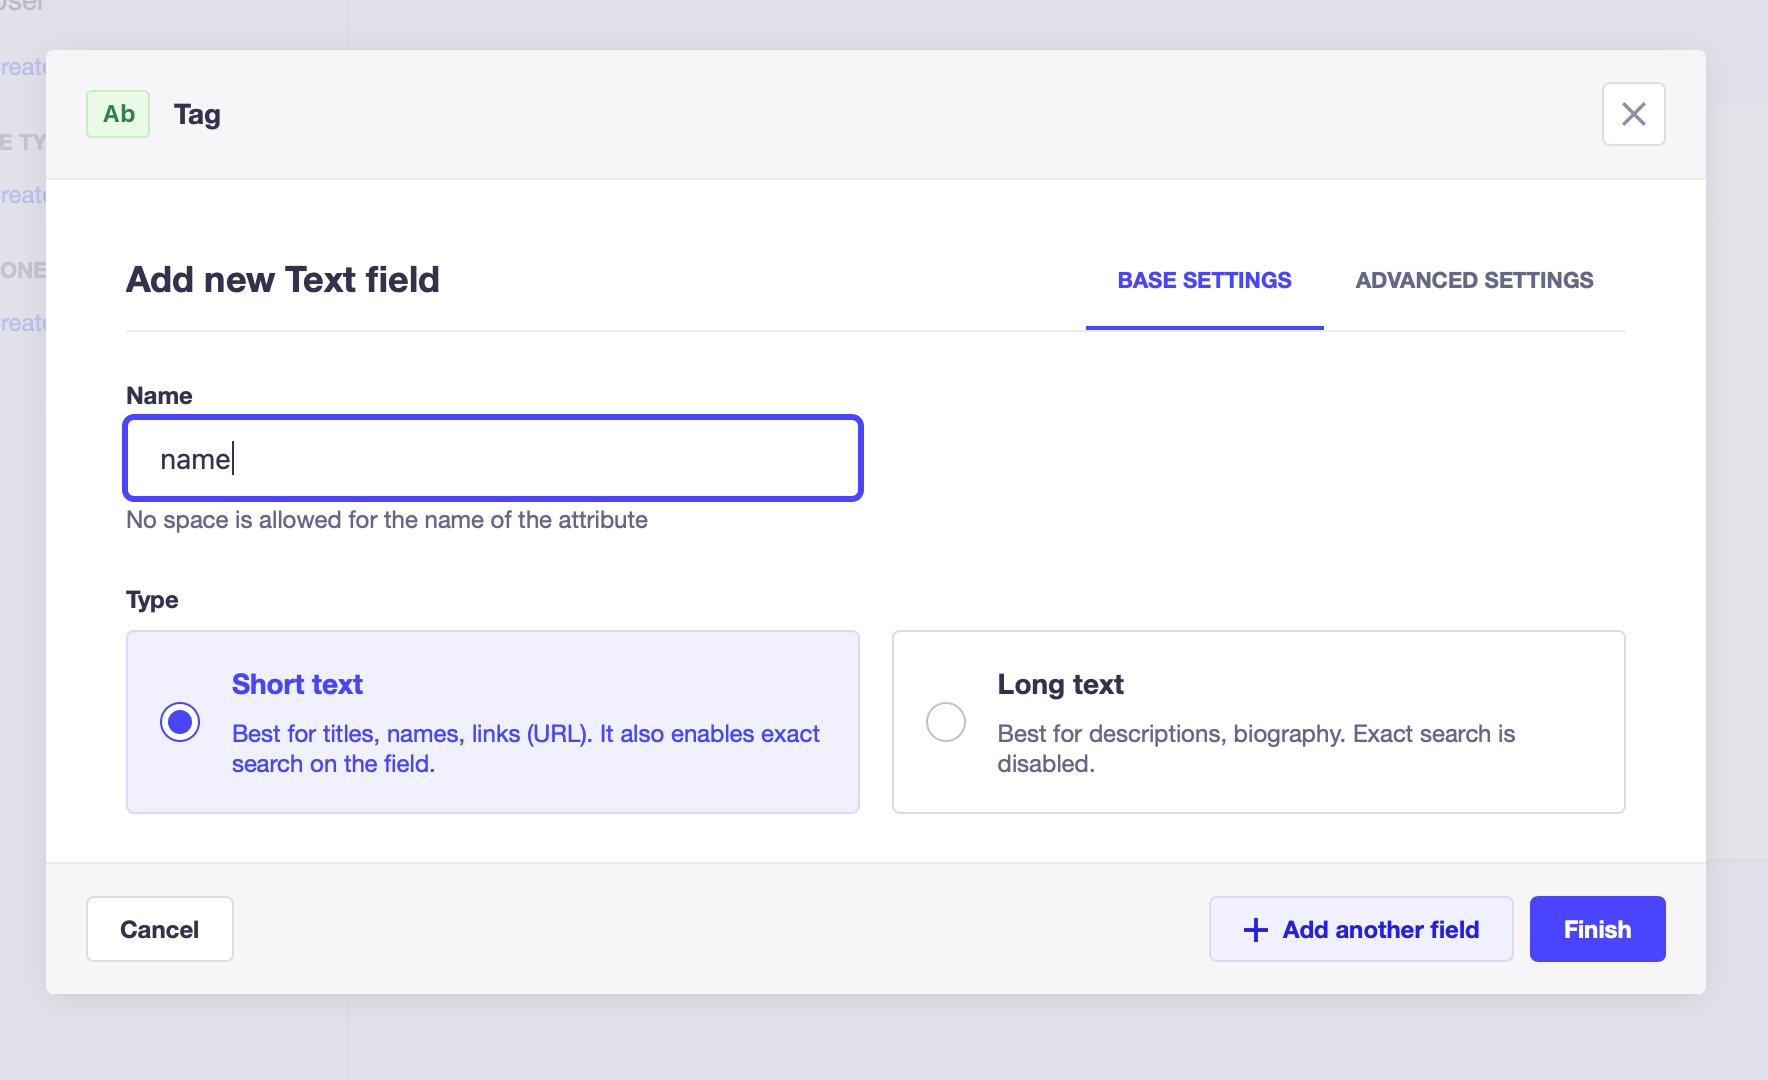
Check the Required option in the Advanced Settings page to guarantee that all tags have a name.
Because this is the only field you’ll be adding for the Tag content type, click Finish. Then, when the pop-up window has closed, click the Save button in the upper right corner. The server will be restarted as a result of this. When you add a new content type, the server is restarted.
The Post content type will be created next. Click on Create new collection type once again. Enter Display Name Post in the pop-up that appears, then click Continue.
For postings, there will be fields for the post’s title, text, image, date posted, and tags.
Select the Text box for the title field and make it compulsory, as we did previously. When you’re finished, click Add another field.
Select the Rich text field as the content field and make it compulsory.
Select the Media field for the image field, and then select the Type “Single media.” Change the permissible file types under “Select authorized types of media” in the Advanced Settings page to just Images. Make the field mandatory as well.
Choose the Date field and Type “datetime” for the **date_posted **field. Make this field mandatory as well.
Finally, in the tags box, choose the Relation field, and then in the relation type, select “Post belongs to numerous Tags.”
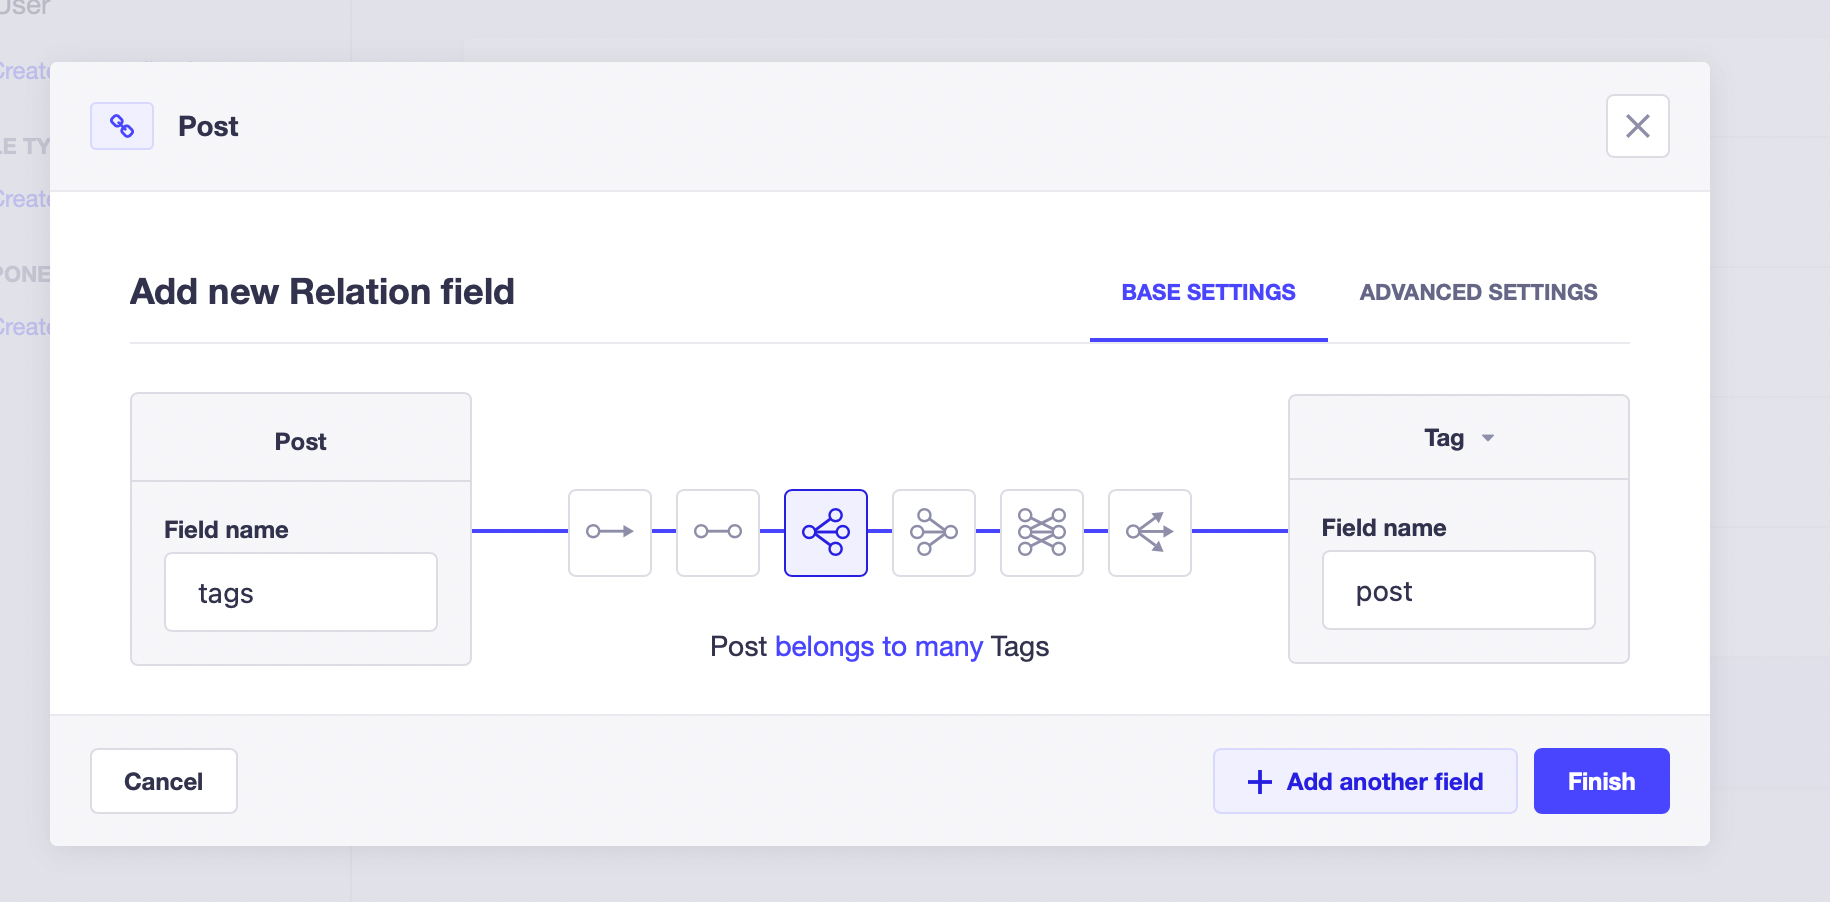
When you’re finished, click Finish, then Save in the upper right. The new content type will be saved, and the server will be restarted.
Finally, you must define the Comment content type. Create a new content type called Comment, just like you did with the previous ones.
There will be three fields in the Comment content type. The first is an Email field that is combined with the name field. Make certain that it is set as necessary.
The second field contains the name content in the form of a Rich text field. This is where the user’s remark will be displayed.
The third field is a Relationship field that connects the Comment and Post. The relationship should be “Post has a lot of Comments.”
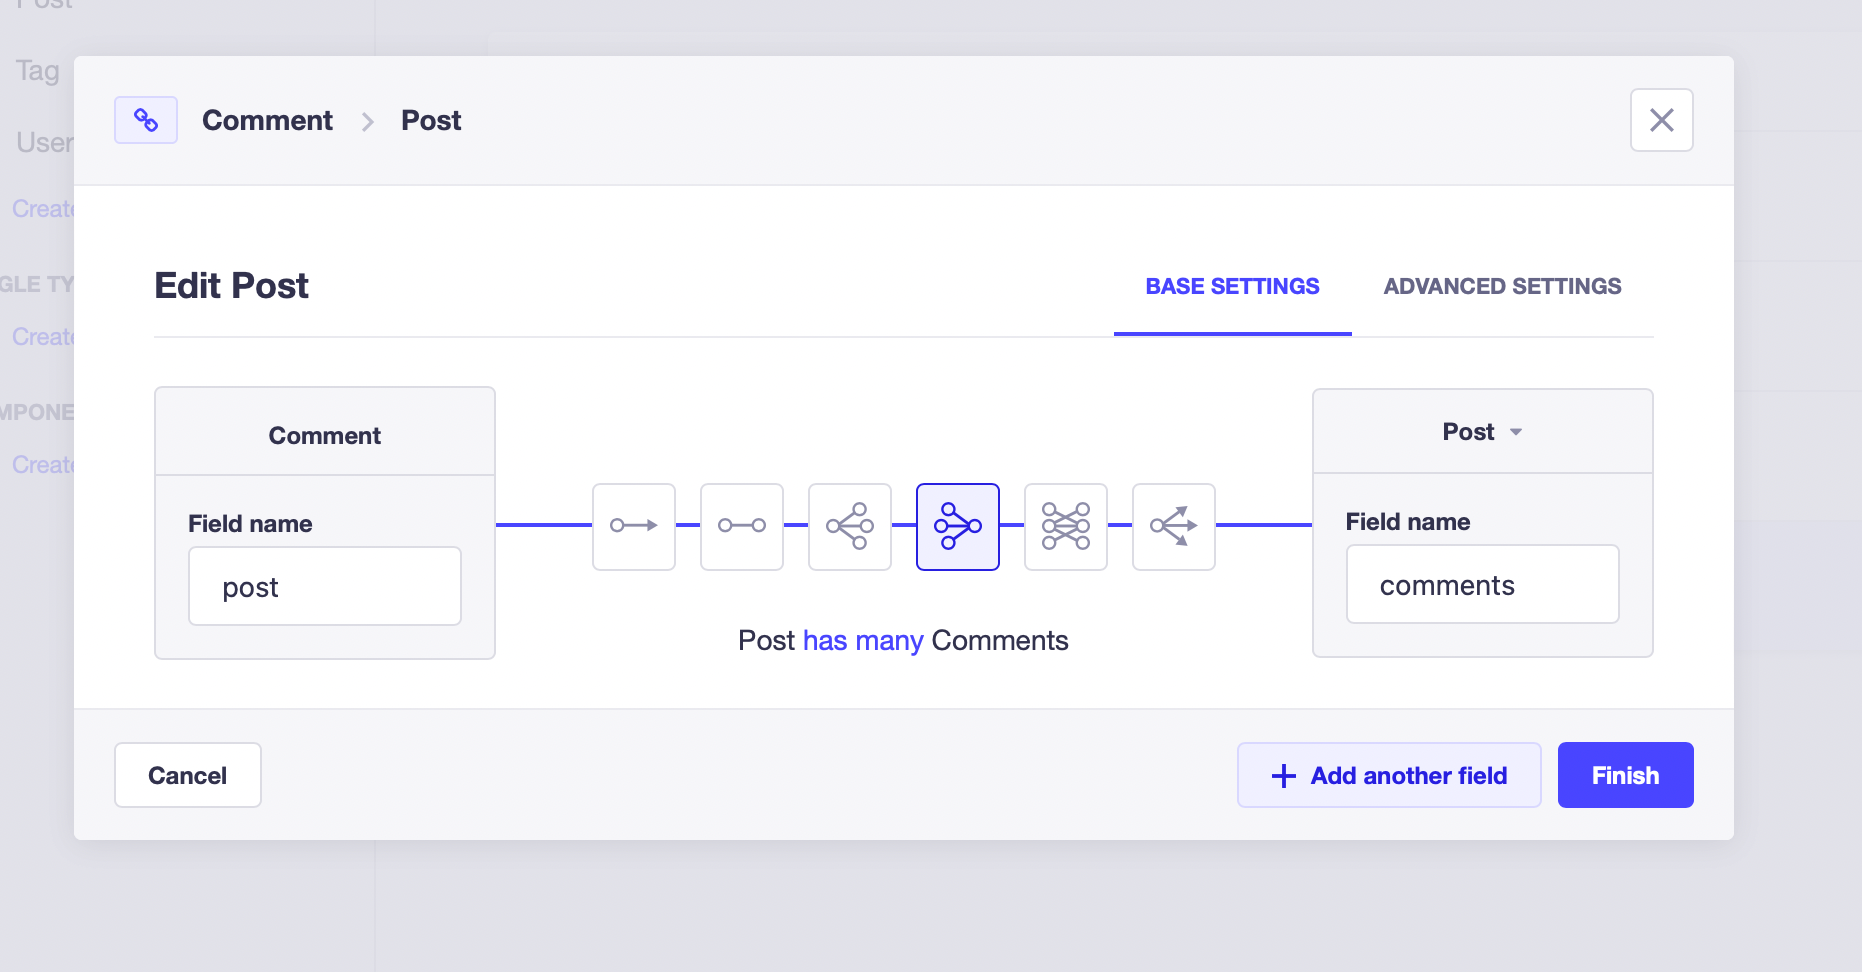
Please keep in mind that when you create this field, a new field named comments will be added automatically in Post.
When you’re finished, click Finish, then Save in the upper right. The new content type will be saved, and the server will be restarted.
Our content kinds are complete!
STEP 3: Add Content
The following stage would be to add content. In the sidebar, select Content Manager. Begin by adding a few tags in the Content Manager sidebar by clicking on Tag, then Add a new entry at the top right.
When creating material, make sure to click Publish after saving it.
Then, in the same manner, add posts. If you wish to make fake content, you can utilize Lorem Ipsum Generator.
STEP 4: Change Permissions
The final step is to make articles and tags public so that they can be consumed in Laravel.
To begin, you will generate an API token to use for your queries. Click Settings, then API Token in the sidebar. At the upper right, click Add Entry.
Enter the token’s name in this field. This is only to help you remember what your API tokens are for. You may also include a description.
Select Full Access in the Token type column.
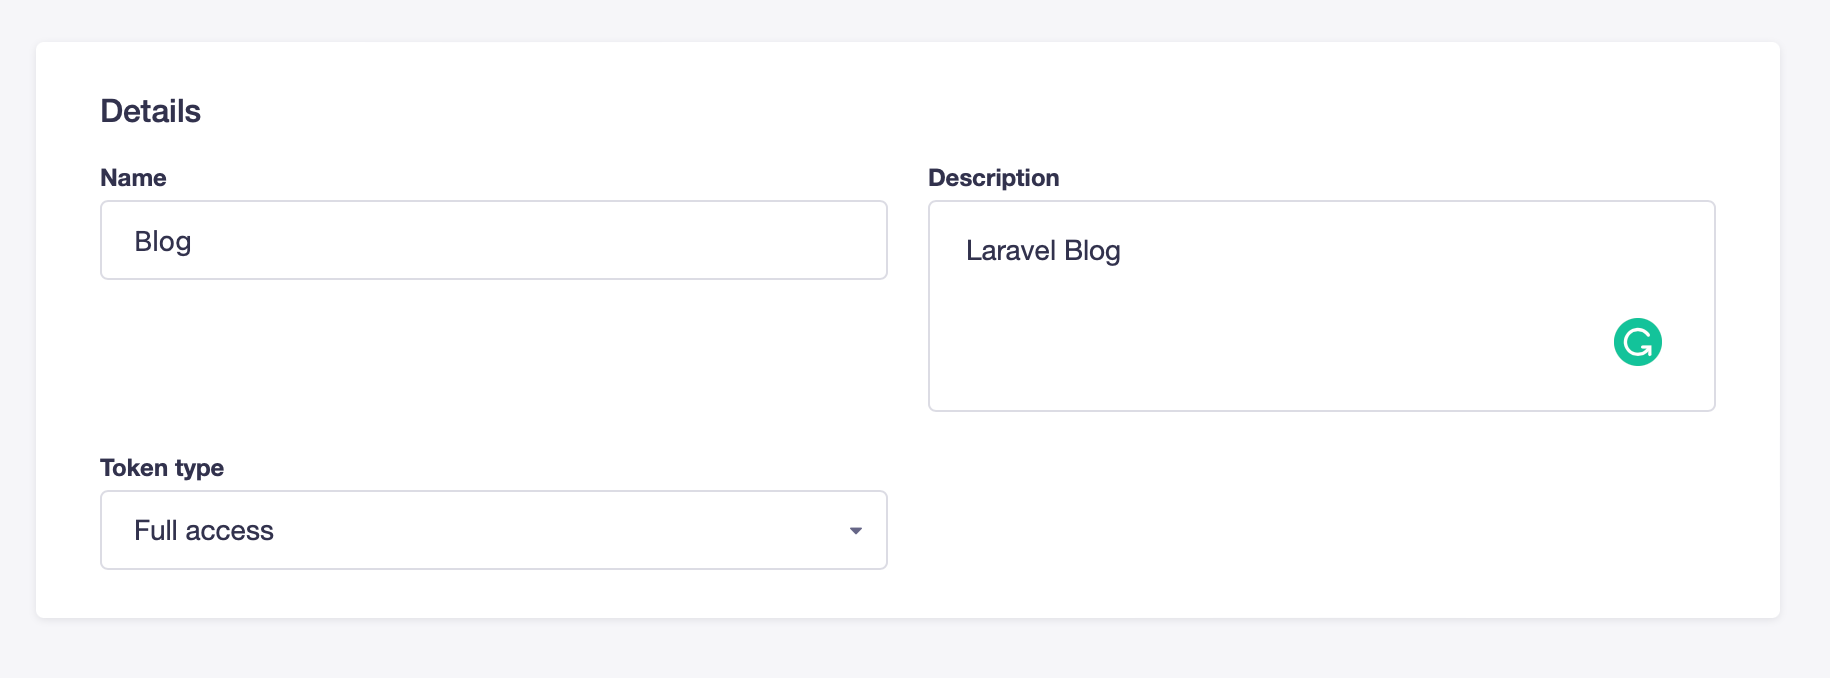
When you’re finished, click the Save button in the upper right corner. This will generate a new API token, and the API token will be displayed to you just once when it is generated. So, copy the API token and save it somewhere safe since you’ll need it later.
Following that, you’ll change the permissions for authorized users so that they may query content types and create new items.
Click Settings in the sidebar, then Roles in the Settings sidebar.
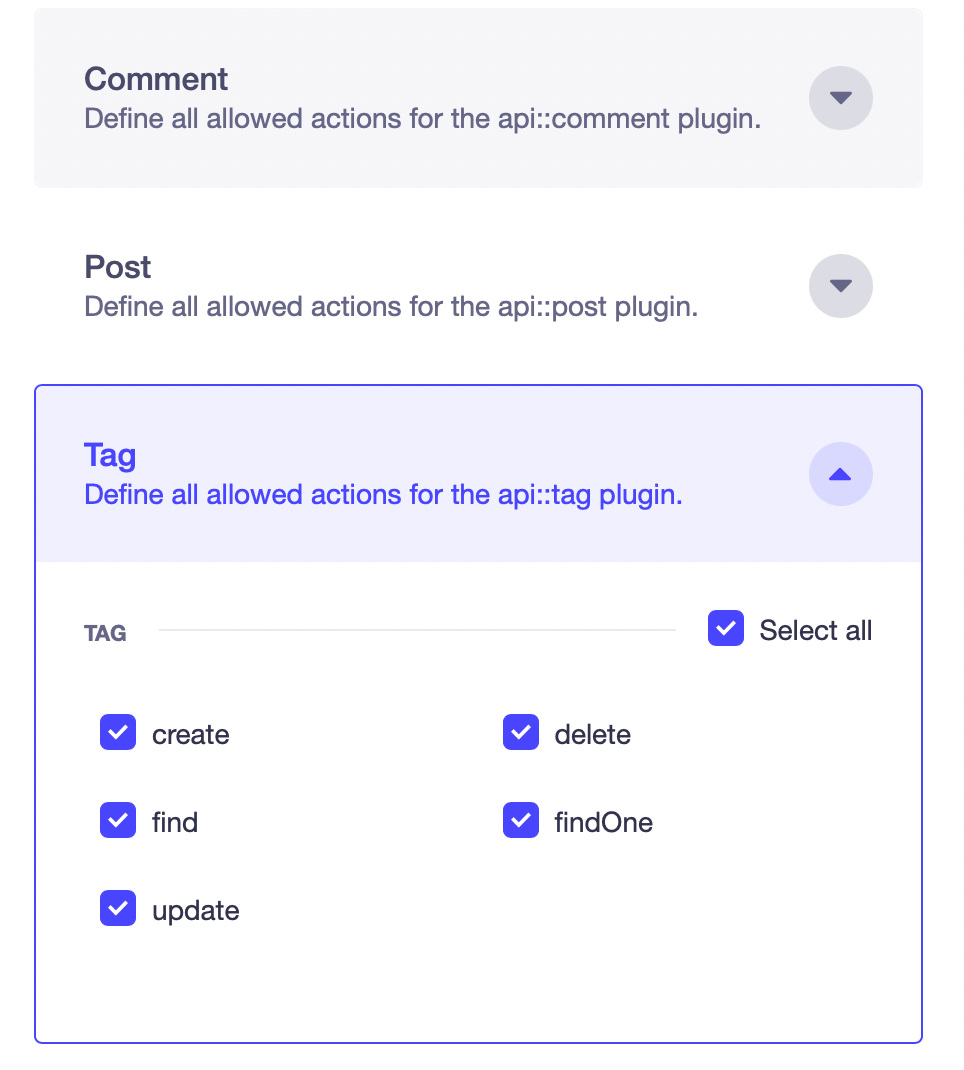
There are two types of roles: Authenticated and Public. On the Authenticated row, click the pencil icon.
Scroll down to see that you may specify what this role can access for each content category. Check Click Save after selecting All for Post, Tag, and Comment.
STEP 5: Setup Laravel
You’ll begin working with Laravel now that Strapi is complete.
To start a new Laravel project, use the following command:
composer create-project laravel/laravel blogOnce this command is done, change to the directory created:
cd blogYou can then start the server with the following command:
php artisan serveThis will start the server at localhost:8000
STEP 6: Add Environment Variables
You must first set two environment variables before you can send requests to Strapi. To.env, add the following environment variables:
    STRAPI_URL=http://localhost:1337
    STRAPI_API_TOKEN=
STEP 7: Add Home Page
On the main page, you’ll query Strapi for all posts and show them.
To create a new controller, enter the following command into your terminal:
php artisan make:controller BlogControllerThen, open app/Http/Controllers/BlogController.php and the following method in the class:
First, you use Laravel’s HTTP Client to query Strapi. Using the env helper method, you send the API token from .env to withToken. Then you make a get call to the URL localhost:1337/api/posts?populate=image,tags.
It’s worth noting that **localhost:1337 **is also fetched from .env. Strapi has a standard route for all of its content kinds in terms of endpoint path. When querying a collection, the endpoint pattern is /api/{collection name}.
When you use Strapi’s API, you may provide it with a variety of handy options that enable you to filter, sort, paginate, and do other things with the data. In this case, you utilize the populate argument to get a content type and its relations. It is used to retrieve the post together with its picture and tags.
After submitting the request, you may use $response->failed() to see if it was successful. If the request fails, the error is recorded. If not, you assign $posts to the response body’s data argument. It’s worth noting that you may use the JSON method to get the parameters from a JSON response by supplying it with a parameter name as the first element.
The next step is to include the home view. Make the following changes to the file resources/views/home.blade.php:
<!DOCTYPE html>
<html lang="{{ str_replace('_', '-', app()->getLocale()) }}">
   <head>
       <meta charset="utf-8">
       <meta name="viewport" content="width=device-width, initial-scale=1">

       <title>Blog</title>

       <link href="https://cdn.jsdelivr.net/npm/bootstrap@5.1.3/dist/css/bootstrap.min.css" rel="stylesheet" integrity="sha384-1BmE4kWBq78iYhFldvKuhfTAU6auU8tT94WrHftjDbrCEXSU1oBoqyl2QvZ6jIW3" crossorigin="anonymous">
   </head>
   <body class="antialiased bg-light">
       <div class="container mt-4 py-3 mx-auto bg-white rounded shadow-sm">
           <div class="row">
               @forelse ($posts as $post)
                   <div class="col-2 col-md-4">
                       <div class="card">
                           <img src="{{ env('STRAPI_URL') . $post['attributes']['image']['data']['attributes']['formats']['medium']['url'] }}"
                               class="card-img-top" alt="{{ $post['attributes']['image']['data']['attributes']['alternativeText'] }}">
                           <div class="card-body">
                               <h5 class="card-title">{{ $post['attributes']['title'] }}</h5>
                               <p class="card-text">{{ substr($post['attributes']['content'], 0, 50) }}...</p>
                               <a href="/post/{{ $post['id'] }}" class="btn btn-primary">Read More</a>
                           </div>
                           <div class="card-footer">
                               @if(count($post['attributes']['tags']['data']))
                                   @foreach ($post['attributes']['tags']['data'] as $tag)
                                       <span class="badge bg-success">{{ $tag['attributes']['name'] }}</span>
                                   @endforeach
                               @endif
                           </div>
                       </div>
                   </div>
               @empty
                   <div class="col">
                       <div class="card">
                           <div class="card-body">
                               This is some text within a card body.
                           </div>
                       </div>
                   </div>
               @endforelse
           </div>
       </div>
   </body>
</html>
As a result, the content type’s fields will be found within the data’s attributes key.
Finally, in routes/web.php, modify the current route to:
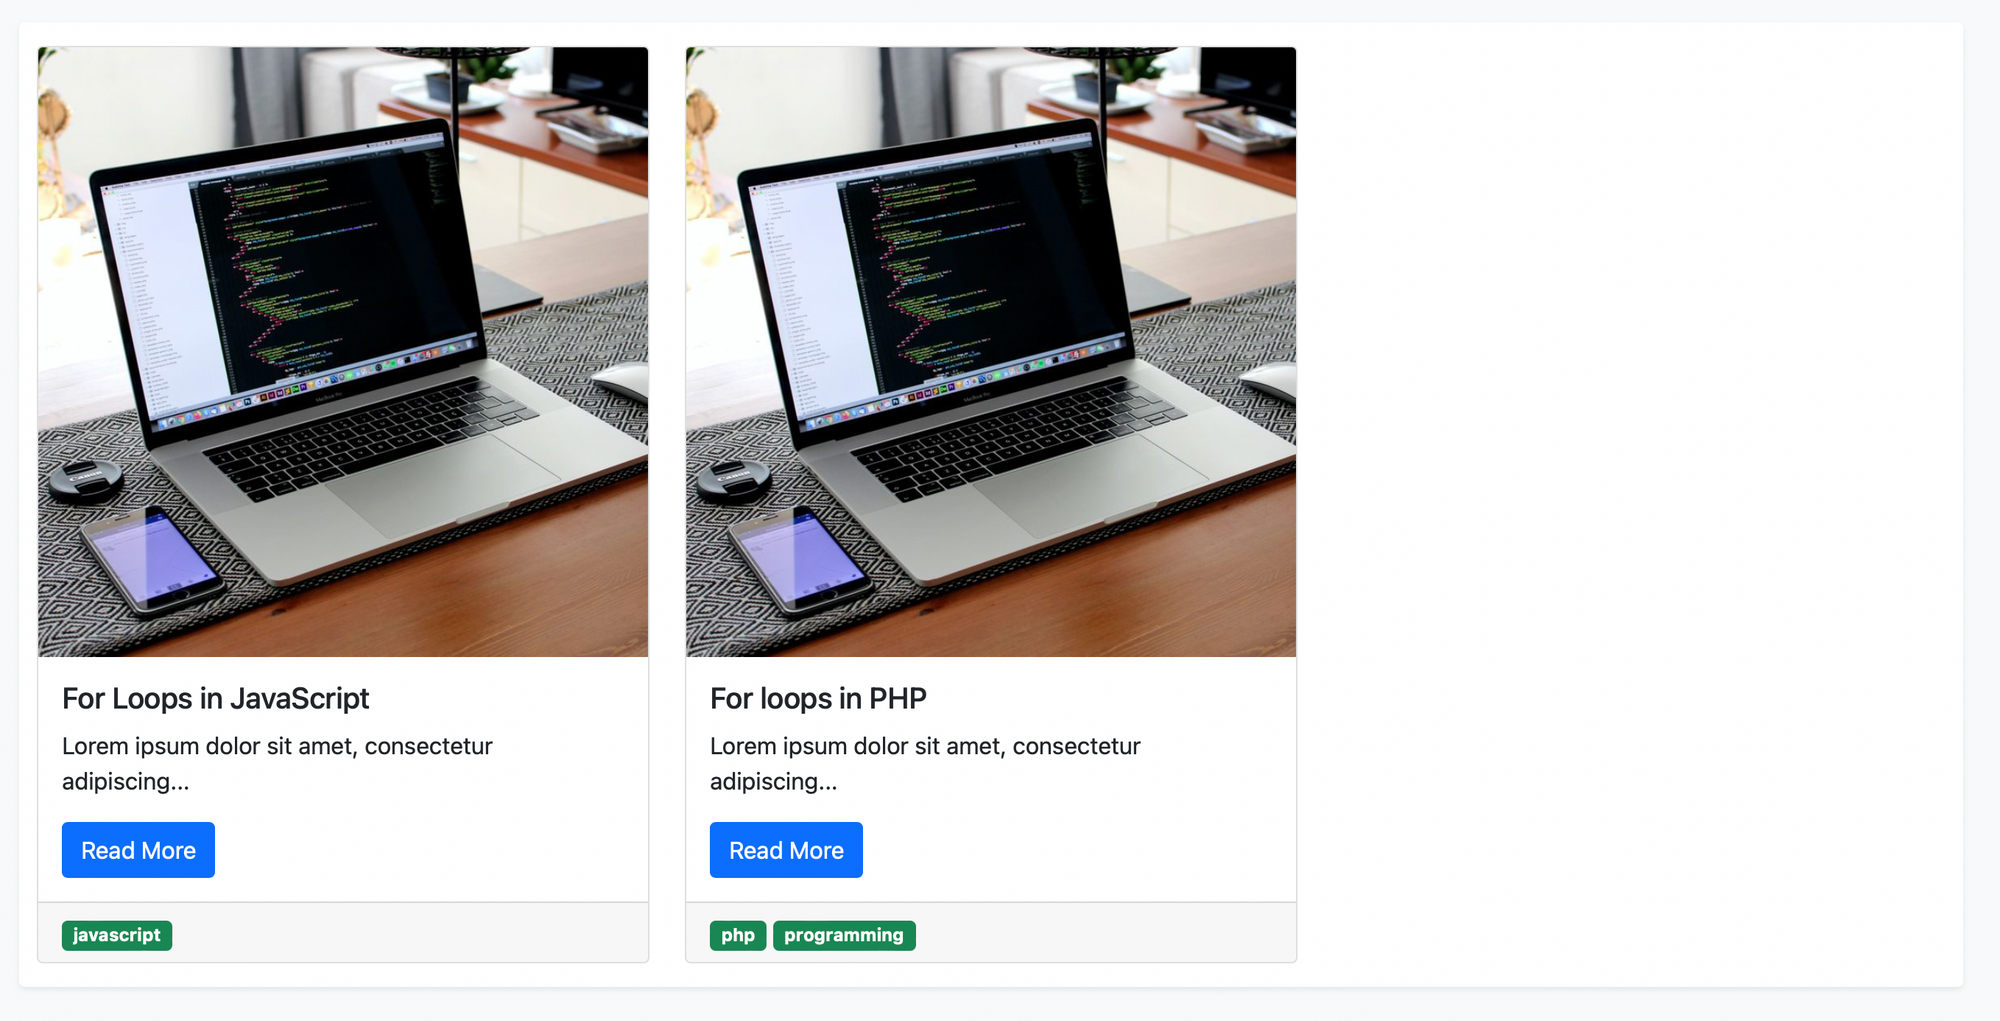
Route::get('/', [\App\Http\Controllers\BlogController::class, 'home']);Let’s test it out. Make sure that both Laravel and Strapi’s servers are running. Then, open localhost:8000. You’ll see the posts you added as cards.
STEP 8: Add View Post Page
The page to see a post will be added next. This page takes the post ID as an input and then requests Strapi for the post’s data.
Add a new method to **app/Http/Controllers/BlogController.php **:
public function viewPost ($id) {
       //retrieve the post from Strapi
       $response = Http::withToken(env('STRAPI_API_TOKEN'))->get(env('STRAPI_URL') . '/api/posts/' . $id . '?populate=image,tags,comments');

       if ($response->failed()) {
           if (isset($data['error'])) {
               Log::error('Server error: ' . $data['error']['message']);
           } else {
               Log::error('Request Failed');
           }

           return response()->redirectTo('/');
       }

       //get post from response
       $post = $response->json('data');

       return view('post', ['post' => $post]);
}
The $id argument, which is the post ID, is used in this function to submit a request to Strapi’s single entry API. The pattern for the endpoint is /api/{collection name}/id. You may also give arguments like populate to it, just like the previous endpoint.
If the request fails, the user is redirected to the home page, and the error is logged. If the request is successful, you retrieve the post from the body of the response and render the view post.
Now, add the following code to resources/views/post.blade.php:
<!DOCTYPE html>
<html lang="{{ str_replace('_', '-', app()->getLocale()) }}">
   <head>
       <meta charset="utf-8">
       <meta name="viewport" content="width=device-width, initial-scale=1">

       <title>{{ $post['attributes']['title'] }} - Blog</title>

       <link href="https://cdn.jsdelivr.net/npm/bootstrap@5.1.3/dist/css/bootstrap.min.css" rel="stylesheet" integrity="sha384-1BmE4kWBq78iYhFldvKuhfTAU6auU8tT94WrHftjDbrCEXSU1oBoqyl2QvZ6jIW3" crossorigin="anonymous">
   </head>
   <body class="antialiased bg-light">
       <div class="container mt-4 py-3 px-5 mx-auto bg-white rounded shadow-sm">
           <h1>{{ $post['attributes']['title'] }}</h1>
           <small class="text-muted d-block">{{ $post['attributes']['date_posted'] }}</small>
           <img src="{{ env('STRAPI_URL') . $post['attributes']['image']['data']['attributes']['formats']['medium']['url'] }}"
                               class="img-fluid mx-auto d-block my-3" alt="{{ $post['attributes']['image']['data']['attributes']['alternativeText'] }}">
           @if(count($post['attributes']['tags']['data']))
             <div class="mb-3">
               @foreach ($post['attributes']['tags']['data'] as $tag)
                 <span class="badge bg-success">{{ $tag['attributes']['name'] }}</span>
               @endforeach
             </div>
           @endif
           <p class="content">
             {{ $post['attributes']['content'] }}
           </p>

           <hr />
           <form action="/post/{{ $post['id'] }}" method="POST">
             @csrf
             <h2>Add Your Comment</h2>
             <div class="mb-3">
               <label for="email" class="form-label">Email address</label>
               <input type="email" class="form-control" id="email" name="email" required>
             </div>
             <div class="mb-3">
               <label for="content" class="form-label">Your Comment</label>
               <textarea rows="5" class="form-control" id="content" name="content" required></textarea>
             </div>
             <button type="submit" class="btn btn-primary">Submit</button>
           </form>
       </div>
   </body>
</html>
This page just displays the post’s information. The post’s field is nested within the attributes field, just as you extracted the post’s data.
This page also has a comment form at the bottom. Following this, you will implement its functionality.
Finally, in **routes/web.php , **add the new route:
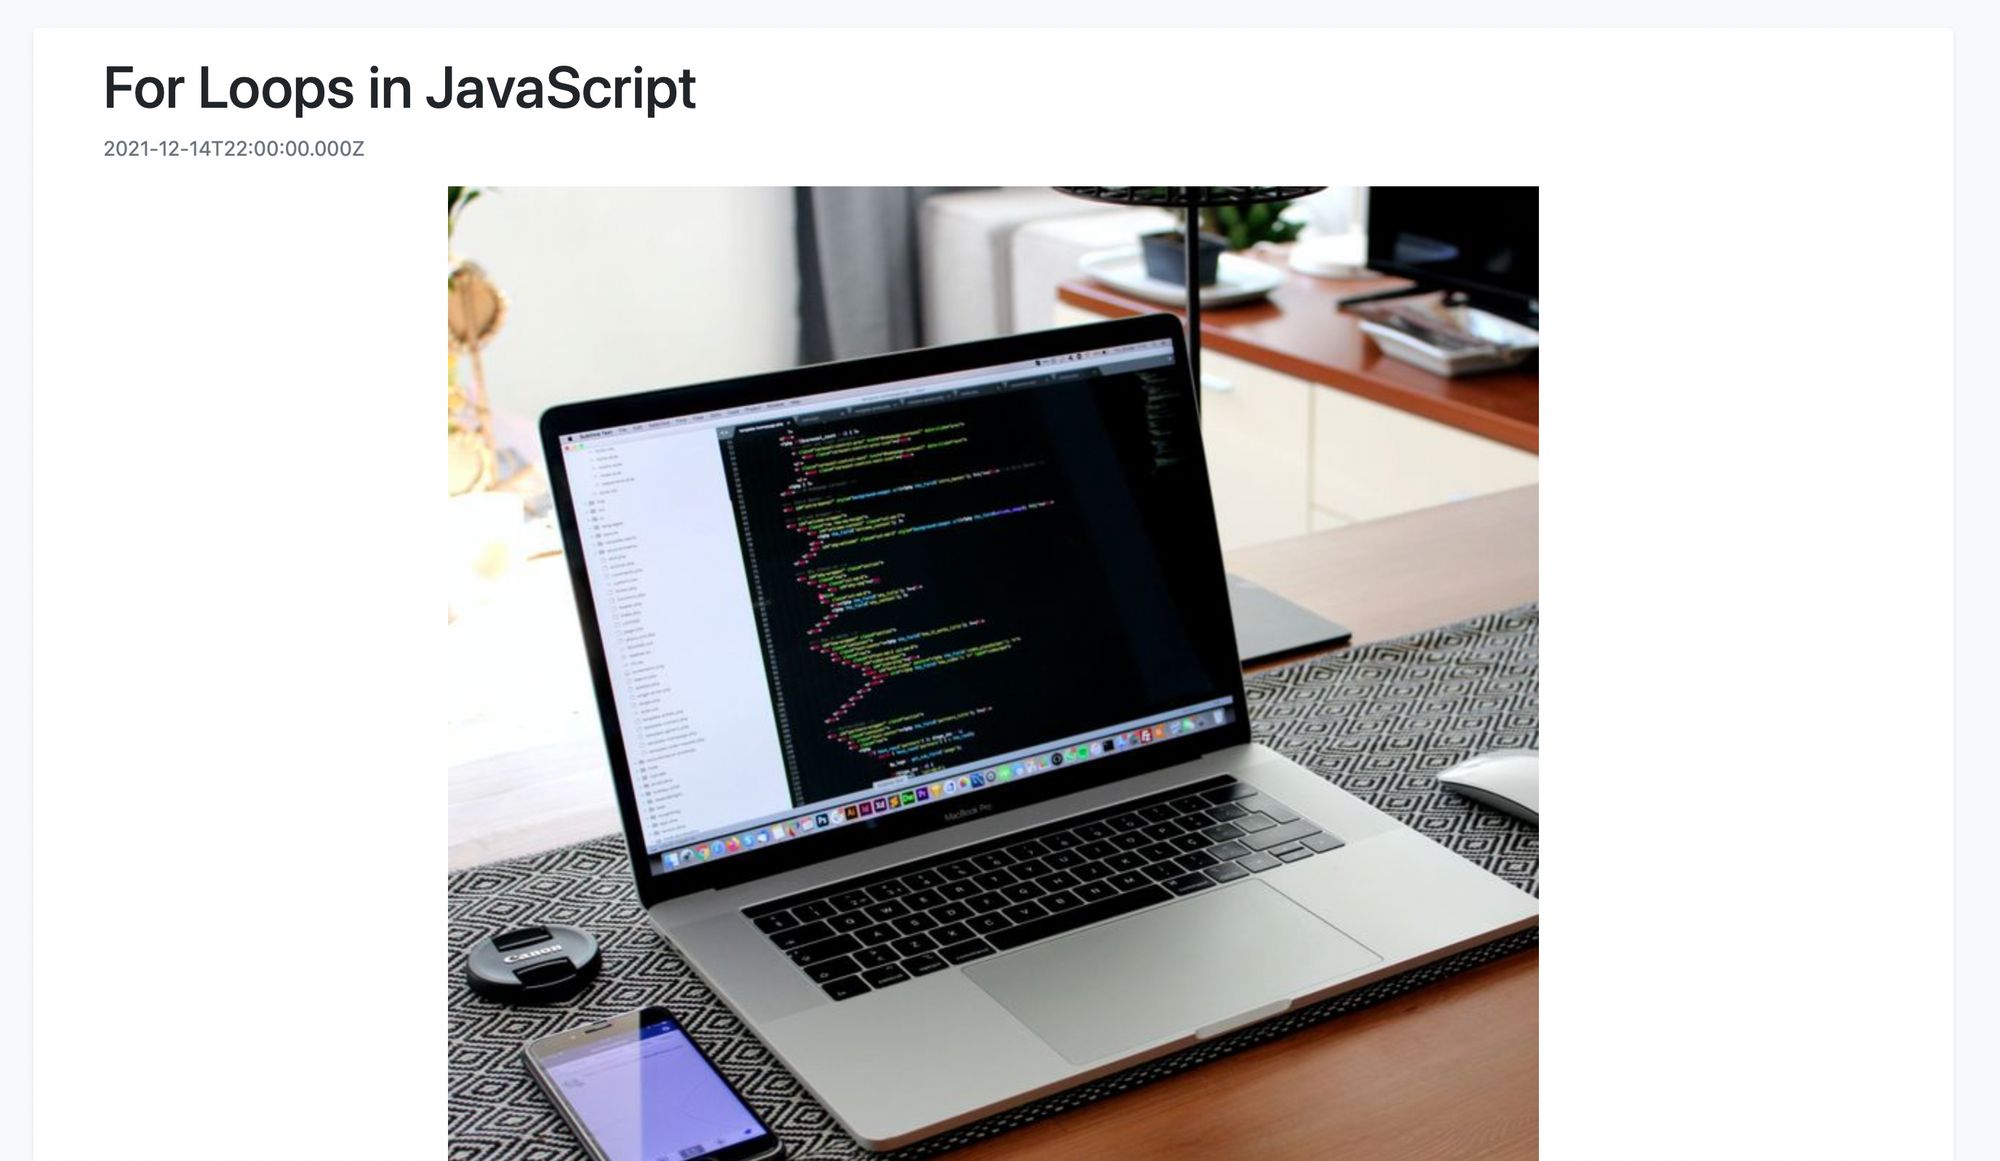
Route::get('/post/{id}', [\App\Http\Controllers\BlogController::class, 'viewPost']);Now, open the home page again and click on Read More for one of the posts. A new page will open with the post’s content.
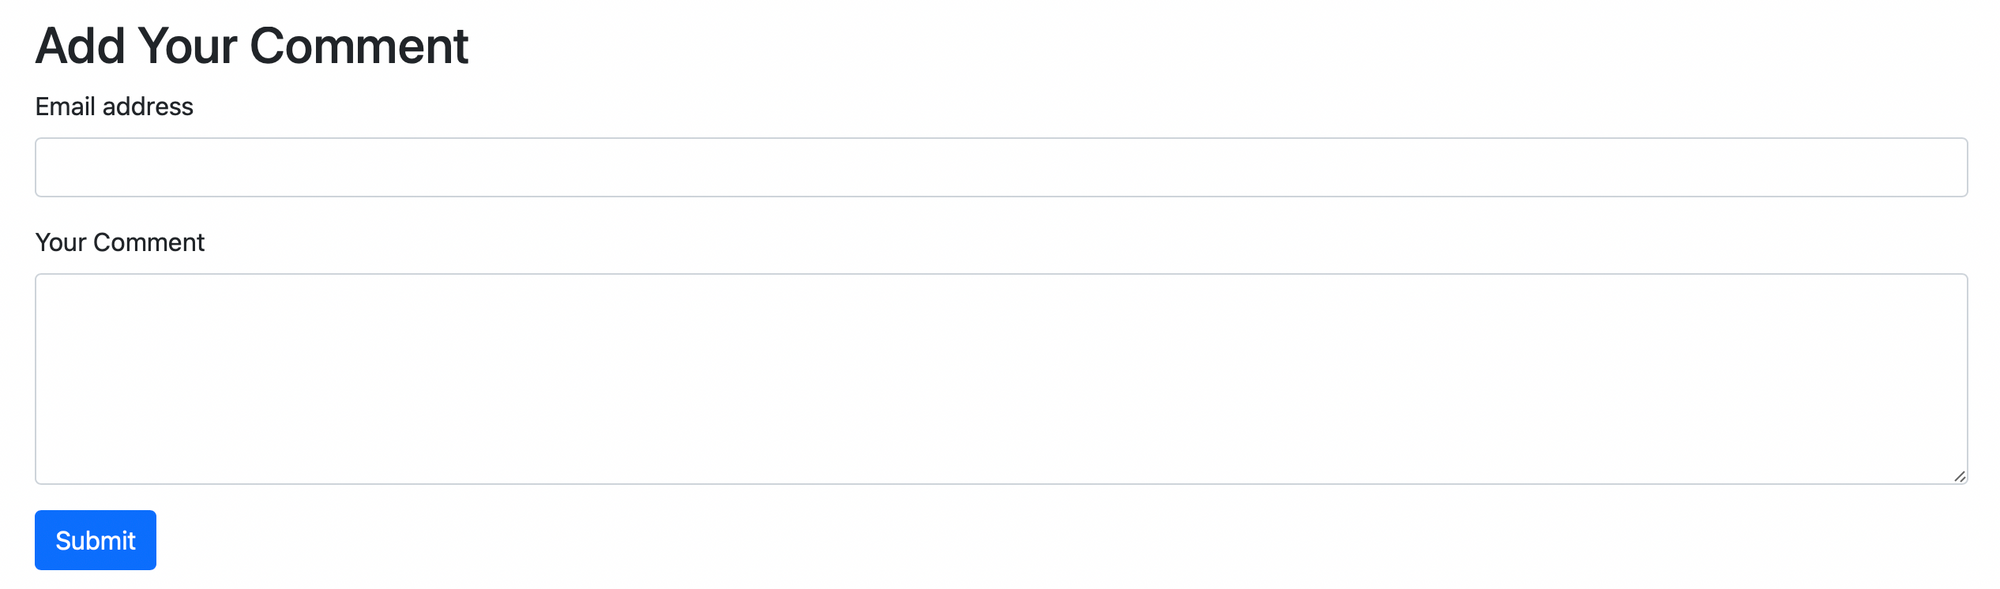
If you scroll down, you’ll see a form to add your comment.
STEP 9: Add Comment Functionality
The final step in this tutorial will be to integrate the commenting capability. Because the form has already been built, you only need to add the POST route to add the comment.
In app/Http/Controllers/BlogController.php, add the following method:
public function addComment (Request $request, $id) {
        $data = [
            "data" => [
                'email' => $request->get('email'),
                'content' => $request->get('content'),
                'post' => $id
            ]
        ];

        $response = Http::withToken(env('STRAPI_API_TOKEN'))->post(env('STRAPI_URL') . '/api/comments', $data);

        if ($response->failed()) {
            if (isset($data['error'])) {
                Log::error('Server error: ' . $data['error']['message']);
            } else {
                Log::error('Request Failed');
            }

            return response()->redirectTo('/');
        }

        //successfully added
        return response()->redirectTo('/post/' . $id);
    }
You must first prepare the data in the way that Strapi prefers. When creating a content type entry, the data should be nested inside a data parameter. Add the email, content, and post fields here. For the sake of brevity, we’re bypassing validation here.
Then you make a POST call to the /api/comments endpoint. The endpoint pattern for creating a content type entry in Strapi is /api/{collection name}. The data is passed to the post-procedure as a second argument.
If the request is unsuccessful, the user is sent to the home page. If it succeeds, the user is returned to the post’s page.
Next, in resources/views/post.blade.php, put the following before the comment form:
<hr/>
    @if (count($post['attributes']['comments']['data']))
        <div class="comments">
            <h2>Comments</h2>
            @foreach ($post['attributes']['comments']['data'] as $comment)
                <div class="card mb-3">
                    <div class="card-body">
                    	{{ $comment['attributes']['content'] }}
                    </div>
                    <div class="card-footer">
                    	By {{ $comment['attributes']['email'] }}
                    </div>
                </div>
            @endforeach
        </div>
    @endif
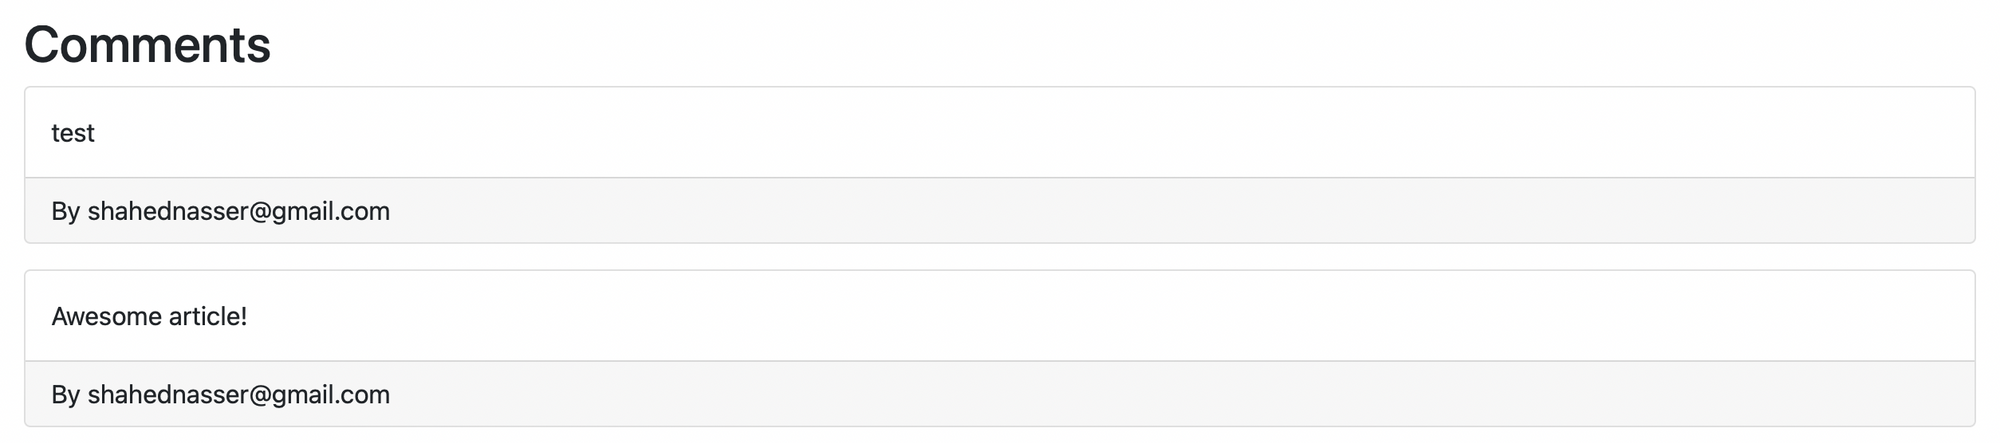
This will show the comments if a post has any.
Finally, add the new route in routes/web.php:
Route::post('/post/{id}', [\App\Http\Controllers\BlogController::class, 'addComment']);Let’s put it to the test. Navigate to the post’s page, then to the comment form. Fill in the blanks with your remark and hit the Submit button. You’ll be sent back to the post’s page, but the remark is visible below the post.
Conclusion
You learned how to create a blog using Laravel and Strapi in this tutorial. Strapi is totally customizable, making it easier to add content kinds, add entries, and use its APIs to query the content types or add new entries to them.
Thanks For Reading!
Available for a new project! Let’s have a talk : email: bangadam.dev@gmail.com LinkedIn : https://www.linkedin.com/in/bangadam